Create Amazing Visuals How to Use Green Screen on CapCut
Green screen editing is one of the most popular video trends on social media platforms like TikTok, Instagram Reels, and YouTube Shorts. Learning how to use green screen on CapCut pro can make your videos look professional, creative, and eye-catching. With CapCut’s powerful green screen tools, your visual content can easily keep up with modern content creator trends.
In this guide, you’ll learn two easy methods to use green screen on CapCut and create stunning visual effects without advanced editing skills.
What Is Green Screen Editing?
Green screen editing, also known as chroma key editing, is a popular technique used in movies, films, and digital content creation. It allows creators to remove or replace a video background with any image or clip of their choice.
With CapCut green screen editing, you can:
- Remove unwanted backgrounds
- Add creative visuals behind your subject
- Create professional-looking content easily
This technique helps creators stand out and surprise their audience with visually engaging videos.
CapCut Green Screen Features
CapCut pro offers powerful and beginner-friendly green screen editing tools. Some key features include:
Easy Background Removal
CapCut allows you to remove backgrounds with just one click using Chroma Key or Background Remover tools.
No Watermark Export
CapCut offers clean exports without distracting watermarks, helping maintain a professional brand image.
Versatile Editing Tools
CapCut provides advanced yet easy tools such as keyframing, speed control, filters, transitions, and shadows to enhance green screen effects.
How to Use Green Screen on CapCut
There are two simple methods to apply green screen effects in CapCut.
Method 1: Green Screen Editing Using Chroma Key
- Upload Your Background Clip
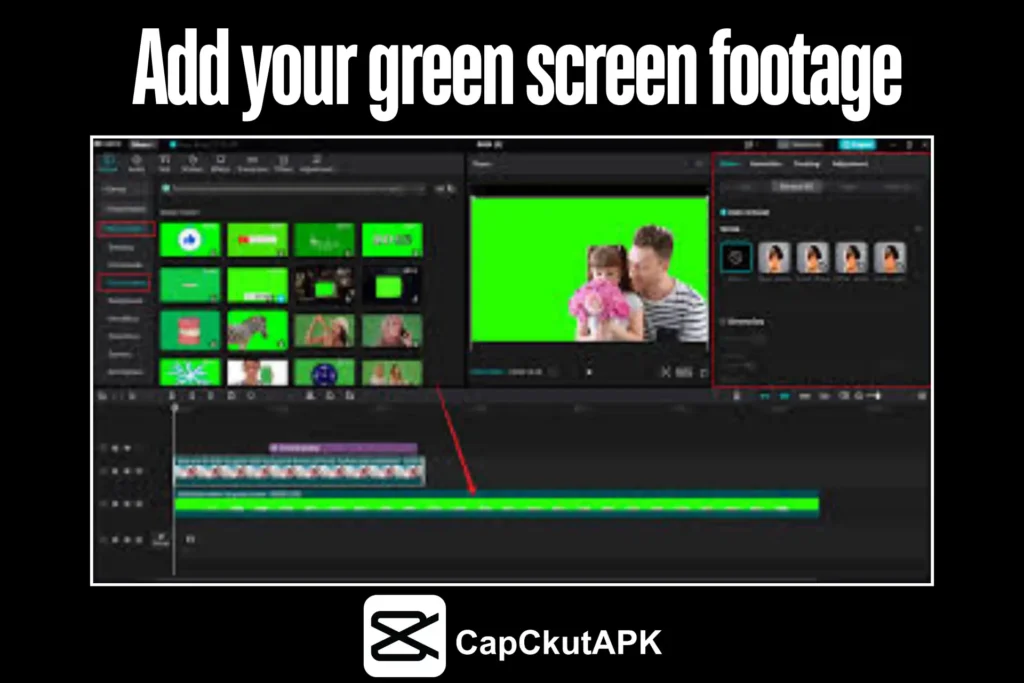
Open CapCut, start a new project, and add the video or image you want as your background. - Add Green Screen Video
Tap on Overlay, then upload your green screen footage and adjust its position.
- Select the Green Color
Tap the overlay clip, choose Chroma Key, and use the color picker to select the green background. - Adjust Intensity & Shadows
Use the intensity slider to refine the effect and adjust shadows for realistic results. - Export Your Video
Export your video in high resolution and your preferred format.
Method 2: Green Screen Editing Using Background Remover
- Start a New Project
Open CapCut and upload your background clip. - Add Green Screen Footage
Add your green screen video as an overlay. - Remove Background Automatically
Select the overlay clip and tap Background Remover to remove the background instantly. - Finalize and Export
Make final adjustments and export your video in HD or 4K resolution.
Tips for Successful Green Screen Editing on CapCut
- Use Proper Lighting: Avoid shadows and uneven lighting for cleaner background removal.
- Choose High-Quality Clips: High-resolution footage delivers better final results.
- Experiment with Backgrounds: Try different backgrounds to match your content theme and style.
Why Choose CapCut for Green Screen Editing?
CapCut is a powerful yet easy-to-use video editing app suitable for beginners and professionals. Its Chroma Key and Background Remover features make green screen editing fast, smooth, and highly effective. CapCut is widely used by content creators because of its simplicity, performance, and trending features.
Conclusion
CapCut green screen editing opens endless creative possibilities for video creators. Whether you’re a beginner or an experienced editor, CapCut makes it easy to remove backgrounds and create engaging visual content. Start using green screen effects today and take your video editing skills to the next level with CapCut pro.