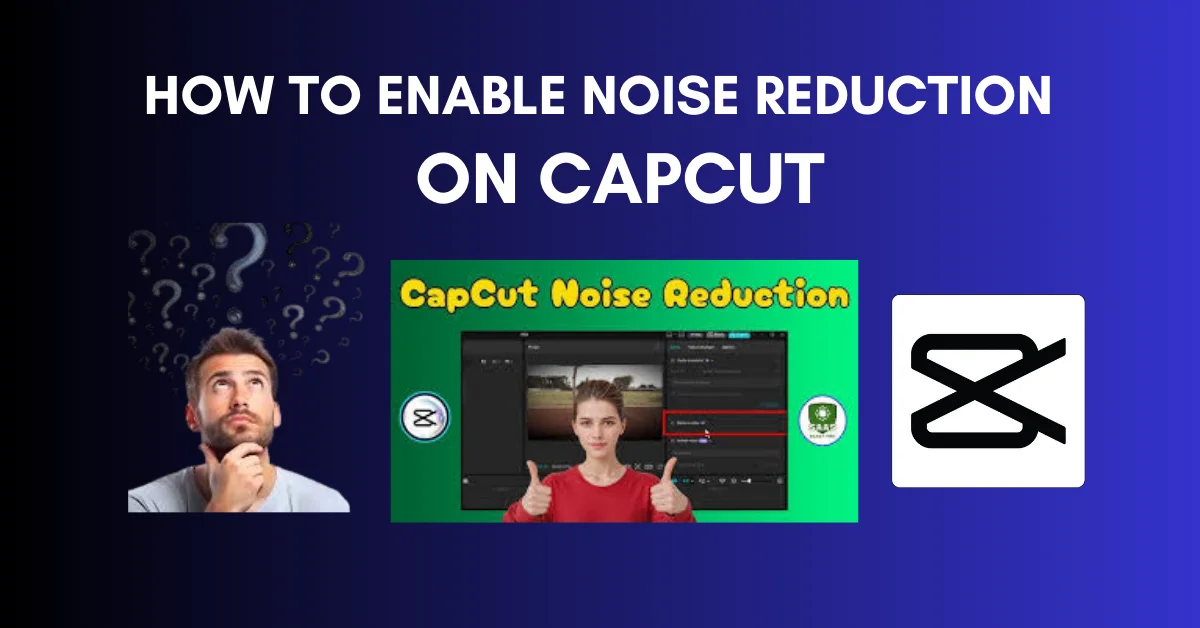
How to Enable Noise Reduction on CapCut Easily for Clear Audio
Clean and clear audio is just as important as video quality. Even a high-resolution video can feel unprofessional if the sound has background noise. In this guide, you will learn How to Enable Noise Reduction on CapCut step by step and make your video audio clean and professional on mobile and PC.
Understanding Audio Noise in Videos
Audio noise is any unwanted background sound that plays behind your voice. This can include fan noise, wind, traffic, people talking, or even phone vibration. Many beginners ignore this issue, but viewers notice poor audio immediately. Bad sound feels tiring and reduces watch time, even if the video looks great.
Most audio noise comes from poor recording environments such as small rooms, open windows, outdoor shooting, or low-quality microphones. When noise mixes with your voice, your message becomes unclear.
Noise affects all platforms, including YouTube, TikTok, Instagram, and Reels. Clean audio builds trust and keeps viewers engaged longer. CapCut makes this easy by offering a simple built-in noise reduction feature.

Why Use CapCut for Noise Reduction?
CapCut is popular because it is both simple and powerful. Even beginners can use it without prior editing experience. Its clean interface makes audio tools easy to find and apply.
Another big advantage is that CapCut runs smoothly on low-end devices. You can reduce background noise without heavy processing or slow exports. This is perfect for students and new creators using budget phones or laptops.
How to Enable Noise Reduction on CapCut on Android
If you are using CapCut on Android, follow these simple steps:
- Open your CapCut project
- Tap on the video clip
- Select Audio from the bottom menu
- Turn on the Noise Reduction toggle
CapCut will automatically process the audio. Play the preview and listen carefully. In most cases, the default setting works perfectly.
Avoid overusing noise reduction, as it can make your voice sound robotic. A natural and soft voice always sounds better.
How to Enable Noise Reduction on CapCut on iOS (iPhone)
The steps on iOS are almost the same as Android:
- Open your project
- Select the clip
- Go to Audio settings
- Enable Noise Reduction
Apple devices often produce cleaner audio results. Always check the sound using earphones, as phone speakers may hide small distortions.
Keep your CapCut app updated on iPhone to get improved audio quality and better performance.
How to Enable Noise Reduction on CapCut for PC
CapCut for PC is ideal for users who prefer editing on a larger screen. To enable noise reduction:
- Import your video
- Select the clip
- Open the Audio panel
- Enable Noise Reduction
You can preview changes in real time, which helps fine-tune your audio. PC editing is perfect for long videos, tutorials, podcasts, and interviews.
Noise Reduction on CapCut for Mac
CapCut for Mac offers smooth performance and fast previews. The steps are similar to the PC version. Select your clip, open audio settings, and turn on noise reduction.
Mac users should also check export settings and select high-quality audio to maintain clean sound after rendering.
Using Advanced Audio Features in CapCut Pro
CapCut Pro offers additional audio tools for creators who want more control. Noise reduction works better with advanced filters and voice enhancement options.
If you create content regularly, Pro can improve workflow and consistency. However, the free version is more than enough for most users.
CapCut Pro APK and Mod Versions Explained
Some users looking for CapCut Pro APK or Mod APK to unlock premium features for free. These versions are risky and can cause crashes, security issues, or poor audio performance.
Does CapCut Old Version Support Noise Reduction?
Older versions of CapCut may support basic noise reduction, but the quality is limited. New updates improve sound processing and reduce distortion. If your device supports updates, upgrading is highly recommended.
Best Noise Reduction Settings for Clear Voice
- Start with default noise reduction
- Preview audio carefully
- Avoid heavy background music
- Keep voice natural, not sharp
Noise reduction works best when recording quality is already decent.
Common Mistakes While Using Noise Reduction
Many beginners overuse noise reduction, making the voice sound hollow or robotic. Another mistake is relying on editing instead of proper recording. Editing helps, but it cannot fix everything.
Expert Tips to Improve Audio Quality
- Record in a quiet environment
- Use earphones or an external mic
- Speak clearly and calmly
- Keep the phone at a proper distance
These small habits greatly improve final audio quality.
Conclusion
Learning Enable Noise Reduction on CapCut is a simple but powerful skill. Clean audio improves viewer experience, increases watch time, and builds trust.
Whether you use Android, iOS, PC, or Mac, the process is almost the same. Enable noise reduction, preview carefully, and keep your audio natural. With practice, your videos will sound more professional every time.